Basic Waist Bands
This is a substitute for an elastic casing waist band for a skirt, apron, pinafore, or the like. For most skirts, an elastic casing waist band will be okay, or this sort will do. It just depends on what you want to do.
There are two kinds of basic waist bands -- finished and unfinished. Unfinished waist bands are more common. They're for projects that will be sewn together at the end. Finished waist bands are more rare and are almost exclusively for aprons and pinafores where the waist band will close at the back and not be a part of the seam. If you're not sure what you're making, it's probably unfinished.
Measure around your doll's middle. Nearly every doll has a different waist measurement, so this is important! Take that measurement and add an inch and a half or two at least. You cannot go wrong with more cloth.
Cut a rectangle that is the length of your doll's waist plus those inches, and about an inch and a half wide.
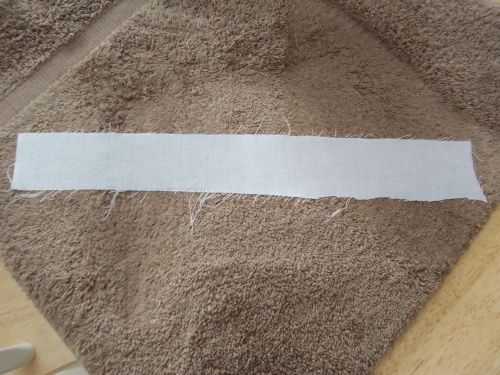
Take that to your ironing board and iron it flat. Now, we need to press the cloth so it has a more permanent crease in it. Wet the cloth. Wet it a LOT. Wetting it does two things -- first of all, when you press it, the crease will be flatter and more permanent. Second, you can make it stick to itself so you don't have to iron it while you try to hold it down. Trust me, I'm saving you some burned fingers with this step.
Your cloth should be wet enough to stick to itself. SKIP THIS NEXT STEP IF YOU ARE MAKING AN UNFINISHED WAIST BAND. Press down the short edges of the cloth like so to make a finished waist band:

Now, wet the waist band again and press down the LONG edges, whether or not you're making an unfinished waist band. Don't worry if it's not the neatest job ever.
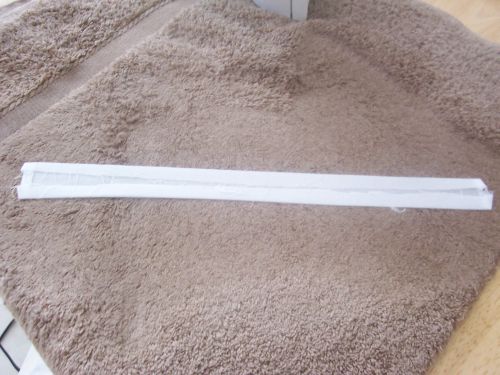
Because check this out, we're gonna cover it up. Wet everything a third time. Fold your waist band in half so that every thing is inside. Press.
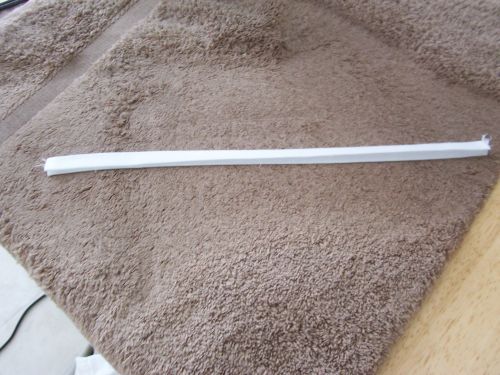
Beautiful!
